Introduction to Virtual Desktops in Windows 11
Windows 11 has refined the user experience with a host of intuitive features, including the enhanced Virtual Desktops. This functionality allows users to create and manage multiple desktops, each tailored to specific tasks or projects. It can help organize your work, reduce clutter, and improve concentration by separating different workflows. Understanding how to leverage this feature can significantly impact your productivity and make multitasking more manageable.
Creating Virtual Desktops
Getting started with virtual desktops in Windows 11 is straightforward. To create a new desktop, press the ‘Task View’ button on the taskbar (or use the shortcut Win + Tab) and click the ‘New desktop’ button at the top of the screen. You can create multiple desktops, each for a different aspect of your work or personal life, such as one for communication, another for creative projects, and a separate one for leisure activities.
Customizing Your Desktops
For better organization, you can rename each desktop by clicking on its name and typing in a new one. You can also right-click on a desktop to change its background, making it easier to identify at a glance. Tailoring each desktop to its specific purpose not only helps with navigation but can also create a unique environment that fits the task at hand.
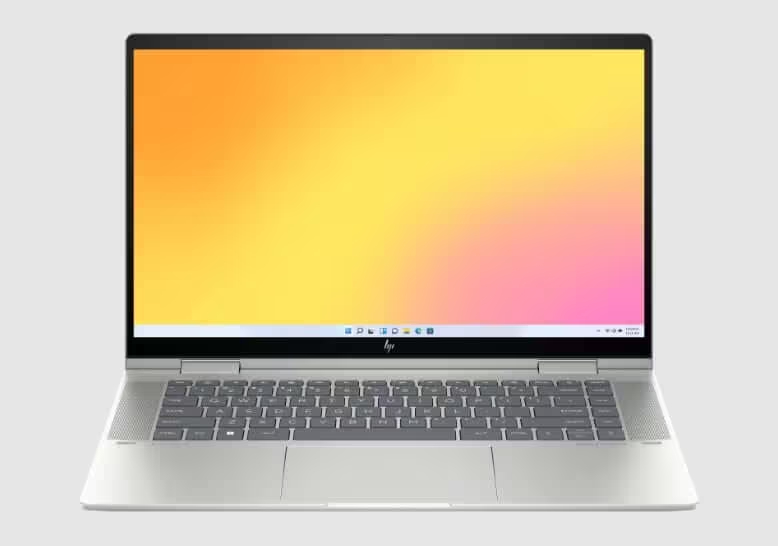
Once you’ve set up your virtual desktops to your liking, moving between them should be seamless and efficient. Windows 11 provides several ways to navigate between desktops, catering to different user preferences.
Keyboard Shortcuts
For those who prefer using the keyboard, there are handy shortcuts that can save time and keep your workflow smooth. Use Ctrl + Win + Left Arrow or Ctrl + Win + Right Arrow to move between desktops without taking your hands off the keyboard. This method is particularly useful when you need to switch desktops quickly while typing or coding.
Touchpad and Mouse Gestures
For users with a touchpad or a mouse, Windows 11 supports gestures that make switching desktops a breeze. With a touchpad, you can use a four-finger swipe left or right to move between your desktops. If you’re using a mouse, you can hover over the ‘Task View’ button and scroll with the mouse wheel to select the desktop you want to switch to. These gestures offer a more tactile and natural way to navigate your virtual workspace.
Organizing Applications Across Desktops
To make the most of virtual desktops, it’s crucial to organize your applications and windows effectively across them. This ensures that each desktop remains clutter-free and dedicated to its intended purpose.
Assigning Apps to Desktops
You can assign specific applications to open on particular desktops. When you open ‘Task View’ and right-click an application window, you’ll see options to move the window to another desktop or to show it on all desktops. This functionality allows you to keep work apps separated from personal apps, for example, or to always have your email client open on every desktop for easy access.
Utilizing Snap Assist
Windows 11‘s Snap Assist feature also works hand in hand with virtual desktops. You can organize windows into your preferred layout on one desktop, and it will remain intact when you switch to another. This way, you can return to a previously arranged set of windows exactly as you left them, without having to rearrange them each time you switch back.
Advanced Tips for Power Users
For the power users who want to maximize their efficiency with virtual desktops, there are additional tips and tricks to explore.
Memory and Resource Management
Be mindful of resource usage when working with multiple desktops. Each desktop consumes memory, especially if you have many applications open across them. To maintain optimal performance, close unnecessary apps and regularly check the Task Manager to monitor resource consumption.
Third-Party Tools for Enhanced Control
Some users may seek more functionality than what’s built into Windows 11. In this case, third-party applications can offer extended capabilities for managing virtual desktops, such as more granular control over desktop layouts, additional shortcuts, and automated switching based on time or activity.
Streamlining Desktop Switching with Taskbar Customization
To further enhance the desktop switching experience, Windows 11 allows users to customize the taskbar to better suit their workflow needs. This can make transitioning between desktops even more intuitive and fit seamlessly into your daily operations.
Task View and Taskbar Shortcuts
Ensuring that the ‘Task View’ button is enabled on your taskbar is the first step towards efficient desktop navigation. You can customize the taskbar by right-clicking on it and selecting ‘Taskbar settings.’ From here, you can toggle the ‘Task View’ button on or off. When enabled, this feature gives you a one-click gateway to all your virtual desktops, allowing for quick switching and management. For further convenience, pin your most frequently used apps to the taskbar on each desktop so that they are readily accessible regardless of which workspace you are in. This consistency across desktops can save time and maintain a fluid transition as you switch from one task to another.
Automating Desktop Organization
For users who want a more automated approach, Windows 11 has features that remember where you left off. When you open an application that was running on a different desktop, the system can automatically switch you to the desktop where the app was last active. This capability is part of the system’s built-in intelligence aimed at reducing friction in multitasking and improving user focus by bringing them directly to the task at hand.
Enhancing Focus with Timely Desktop Transitions
Balancing multiple projects and responsibilities can be challenging, but Windows 11’s virtual desktops can help maintain focus by minimizing distractions. Timely transitions between desktops, aligned with your work schedule or task list, can help you stay on track and be more productive.
Scheduled Desktop Switching
Consider setting specific times of the day for dedicated desktop use. For example, you might designate one desktop for morning tasks such as checking emails and planning your day, and another for deep work sessions without distractions. While Windows 11 does not currently offer an in-built scheduler for desktop switching, external scheduling tools can be used in conjunction with system shortcuts to automate this process. By organizing your day around distinct desktops, you can create a structured routine that helps you stay focused on one activity at a time.
In conclusion, Windows 11 makes switching between virtual desktops an effortless task. By understanding how to create, customize, and navigate between desktops, as well as managing applications efficiently, you can transform your digital workspace into a highly organized and productive environment. Whether you’re a casual user looking to separate work and play or a power user aiming for optimal efficiency, mastering virtual desktops in Windows 11 can greatly enhance your computing experience.