Windows 11 introduces a myriad of features designed to enhance productivity and streamline workflow. One such feature is the Virtual Desktop, which allows users to create multiple desktops that can be tailored for various tasks or projects. This capability is especially helpful for those juggling different responsibilities, such as work, study, and personal activities. In this article, we will explore how to set up and customize Windows 11 virtual desktop to optimize your experience.
Understanding Virtual Desktops
What Are Virtual Desktops?
Virtual Desktops in Windows 11 provide users with the ability to create separate desktop environments. Each desktop can host distinct open applications, files, and settings, allowing for better organization. For instance, you can have one virtual desktop dedicated to work-related tasks and another for leisure activities or personal projects. This separation can help reduce distractions and improve focus, making it easier to switch between different tasks.
Benefits of Using Virtual Desktops
The advantages of utilizing virtual desktops are plentiful. By keeping work and personal projects on separate desktops, you can minimize clutter and make it easier to find what you need. Additionally, users can customize each desktop to fit their specific needs. You can have different backgrounds, icons, and app arrangements tailored for various tasks, thus enhancing your overall productivity.

Setting Up Your First Virtual Desktop
Accessing the Virtual Desktop Feature
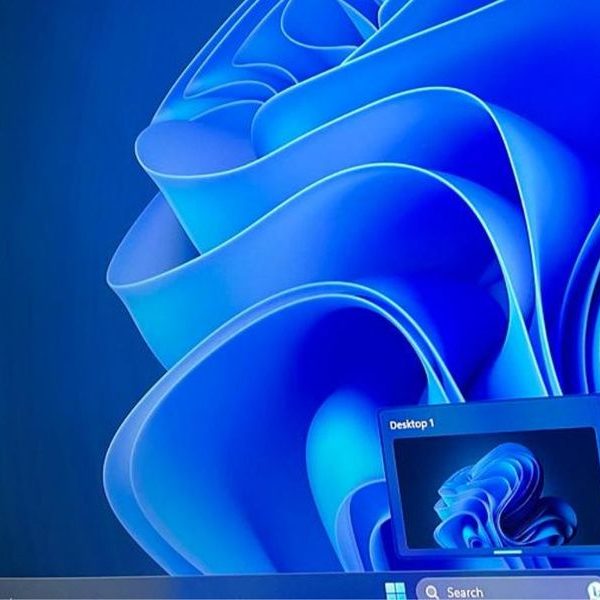
To establish your first virtual desktop, begin by activating the Task View feature. This can be done by clicking the “Task View” icon on the taskbar, which resembles two overlapping rectangles. Alternatively, you can use the keyboard shortcut Windows key + Tab. This action brings up a visual overview of your current desktop and any existing virtual desktops.
Creating a New Desktop
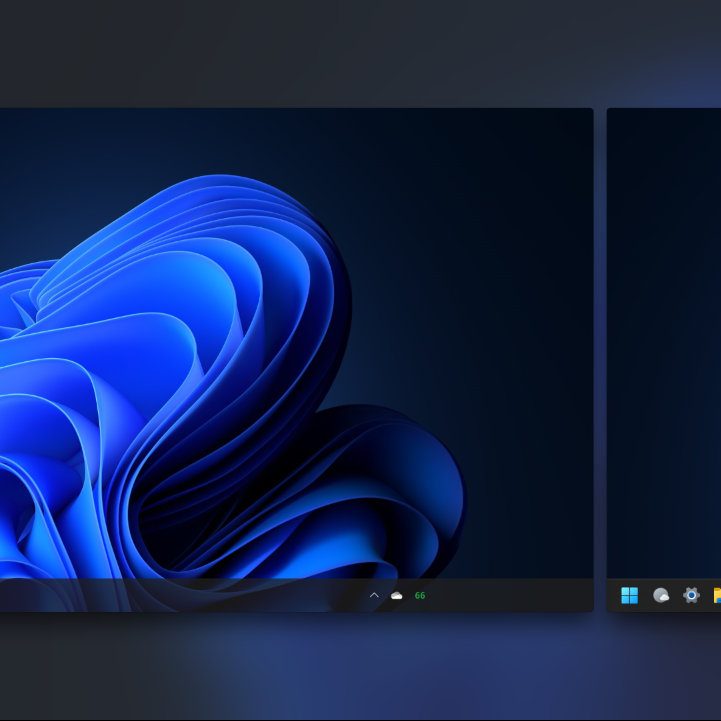
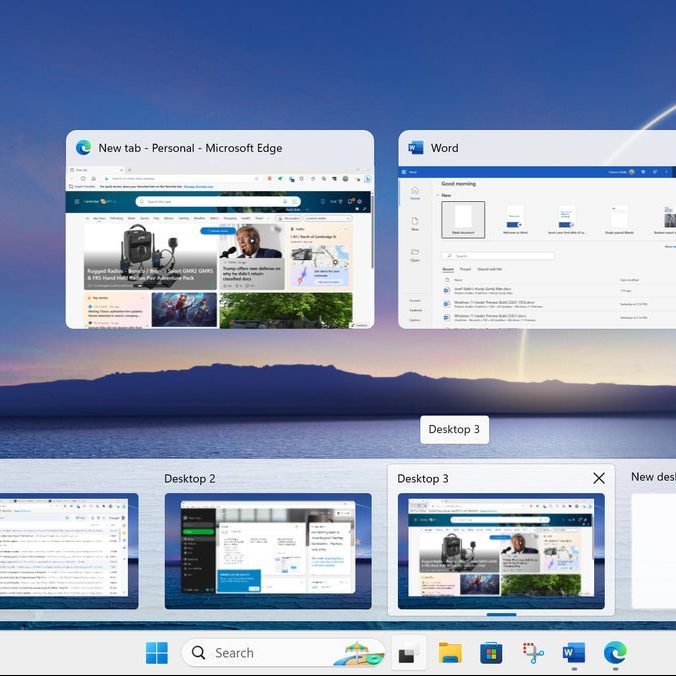
Once you’re in Task View, you will see an option labeled “New Desktop” in the upper-left corner. Click on this to create a new virtual desktop. You can easily create multiple desktops by repeating this step. Each desktop will appear as a separate thumbnail within the Task View interface, enabling you to navigate between them effortlessly.
Switching Between Virtual Desktops
Switching between virtual desktops is straightforward. While in Task View, simply click on the desktop thumbnail you wish to access. You can also use the keyboard shortcuts to switch quickly. Press Windows key + Ctrl + Left Arrow or Windows key + Ctrl + Right Arrow to move between your created desktops. This allows for immediate transitions, minimizing downtime when switching tasks.
Organizing Your Applications
Each virtual desktop can host different applications. If you find that you often open similar programs for work or play, consider organizing your applications accordingly. Open programs in the respective desktop where they belong to ensure your workflow remains consistent. For instance, if you have a virtual desktop for work, open applications like Word or Excel there, reserving another desktop for casual browsing or gaming.

Customizing Each Virtual Desktop
Choosing Unique Backgrounds
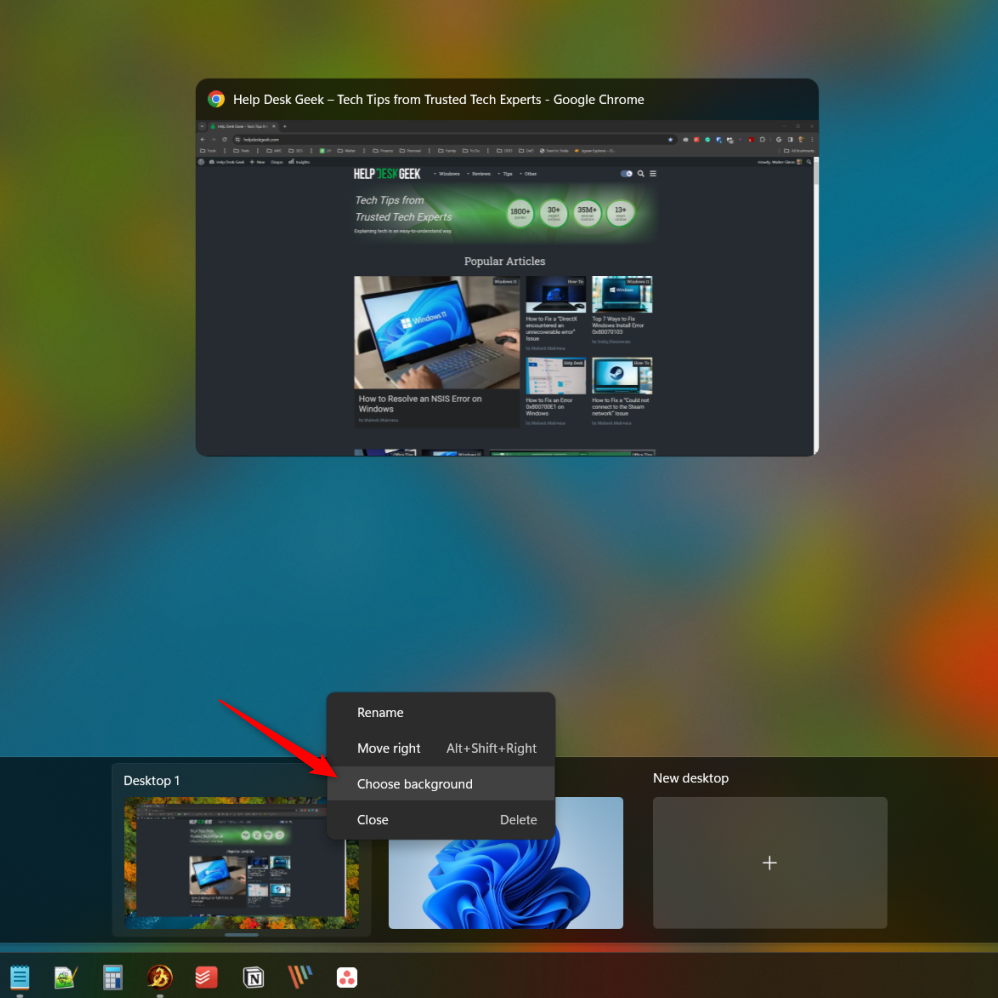
To help differentiate your virtual desktops visually, take advantage of Windows 11’s customization options. Right-click on the desktop background of each virtual desktop and select “Personalize.” From there, you can choose a different wallpaper for each desktop. This simple change can make it easier to identify which desktop you’re working on and enhance your overall aesthetic experience.
Adjusting Icon Layout and App Organization
Customization extends beyond just backgrounds. You also have the option to arrange icons and applications on each virtual desktop. Take some time to organize your desktop by grouping related applications and files together. This can save time when searching for specific items. Moreover, you can pin frequently used apps to the taskbar for quick access across all virtual desktops.
Managing Applications on Virtual Desktops
Moving Open Applications Between Desktops
One of the useful features of virtual desktops is the ability to move open applications from one desktop to another. To do this, again access the Task View. Hover over the application you want to move, right-click it, and select “Move to” from the dropdown menu. You can then choose which desktop to transfer the application to. This ability allows you to reorganize your workflow seamlessly.
Closing Applications and Desktops
If you find that a specific desktop or application is no longer necessary, you can easily close it. To close an individual application, simply exit it as you normally would. To close an entire virtual desktop, return to Task View, hover over the desktop thumbnail, and click the “X” in the upper-right corner. This action will close the desktop, and any applications running in that desktop will transition to the previous one, allowing you to continue working without interruption.
Using Virtual Desktops for Enhanced Productivity
Creating Dedicated Workspaces
You can maximize the benefits of virtual desktops by creating dedicated workspaces catered to your tasks. For instance, you might have one desktop for meeting preparations, another for daily tasks, and a third for ongoing projects. This structured approach can help you maintain focus and reduce the cognitive load of shifting gears between tasks. Plus, by visually separating your work, it becomes easier to find what you need without scrolling through countless open windows.
Incorporating Third-Party Applications
You can further enhance productivity by integrating third-party applications that support virtual desktops. Some apps allow you to create shortcuts or manage your virtual desktops more efficiently. Tools like “Virtual Desktop Enhancer” let users assign hotkeys for switching desktops or for launching specific applications automatically when a particular desktop is active. Utilizing these tools can streamline your workflow, making your virtual desktop experience even more productive.

Troubleshooting Common Issues
Resolving Display or Performance Problems
While virtual desktops function smoothly for many users, some may encounter issues such as display glitches or lag. If your virtual desktops are not responding as expected, try minimizing the number of open applications. Too many active windows can strain system resources, leading to performance issues. Closing unnecessary windows and applications can often remedy the situation.
Keeping Your System Updated
Another critical aspect to ensure smooth functionality is keeping your Windows 11 updated. Microsoft frequently releases updates that fix bugs and improve performance. To check for updates, go to Settings > Windows Update, and click on “Check for Updates.” Keeping your system up to date can help avoid many common issues related to virtual desktops and other features.
Enhancing Collaboration with Virtual Desktops
Sharing Desktops for Team Collaboration
Virtual desktops aren’t just beneficial for individual productivity; they can also enhance collaboration among team members. If you’re working on shared projects or need to demonstrate software functionality, consider using virtual desktops to create a shared workspace. Although Windows 11 does not natively support sharing virtual desktops directly, you can utilize screen-sharing applications like Microsoft Teams or Zoom to showcase your virtual desktop environment during meetings. This way, your team can view the same setup and follow along as you present your ideas or walkthroughs.
Leveraging Group Projects
For group projects, organizing your virtual desktops to reflect different aspects of the project can be incredibly helpful. For example, one desktop can focus on research materials, another on design elements, and a third for writing and editing documents. By categorizing your work in this manner, team members can quickly reference the information they need without sifting through unrelated files. This structured approach not only boosts efficiency but ensures everyone is on the same page, making it easier to foster a collaborative spirit and enhance the overall project experience.
Maximize Your Efficiency with Virtual Desktops
Setting up and customizing virtual desktop in Windows 11 opens the door to a more organized and efficient working environment. By understanding how to navigate, customize, and manage these desktops effectively, you can transform your digital workspace into a tailored retreat that enhances productivity and focus. Whether you’re juggling work tasks, personal projects, or creative endeavors, virtual desktops offer a flexible solution to keep everything under control. Explore the features discussed in this article to create a personalized setup that caters to your unique needs and elevates your daily experience with Windows 11. Embrace this innovative feature, and watch as it revolutionizes the way you work and play.
