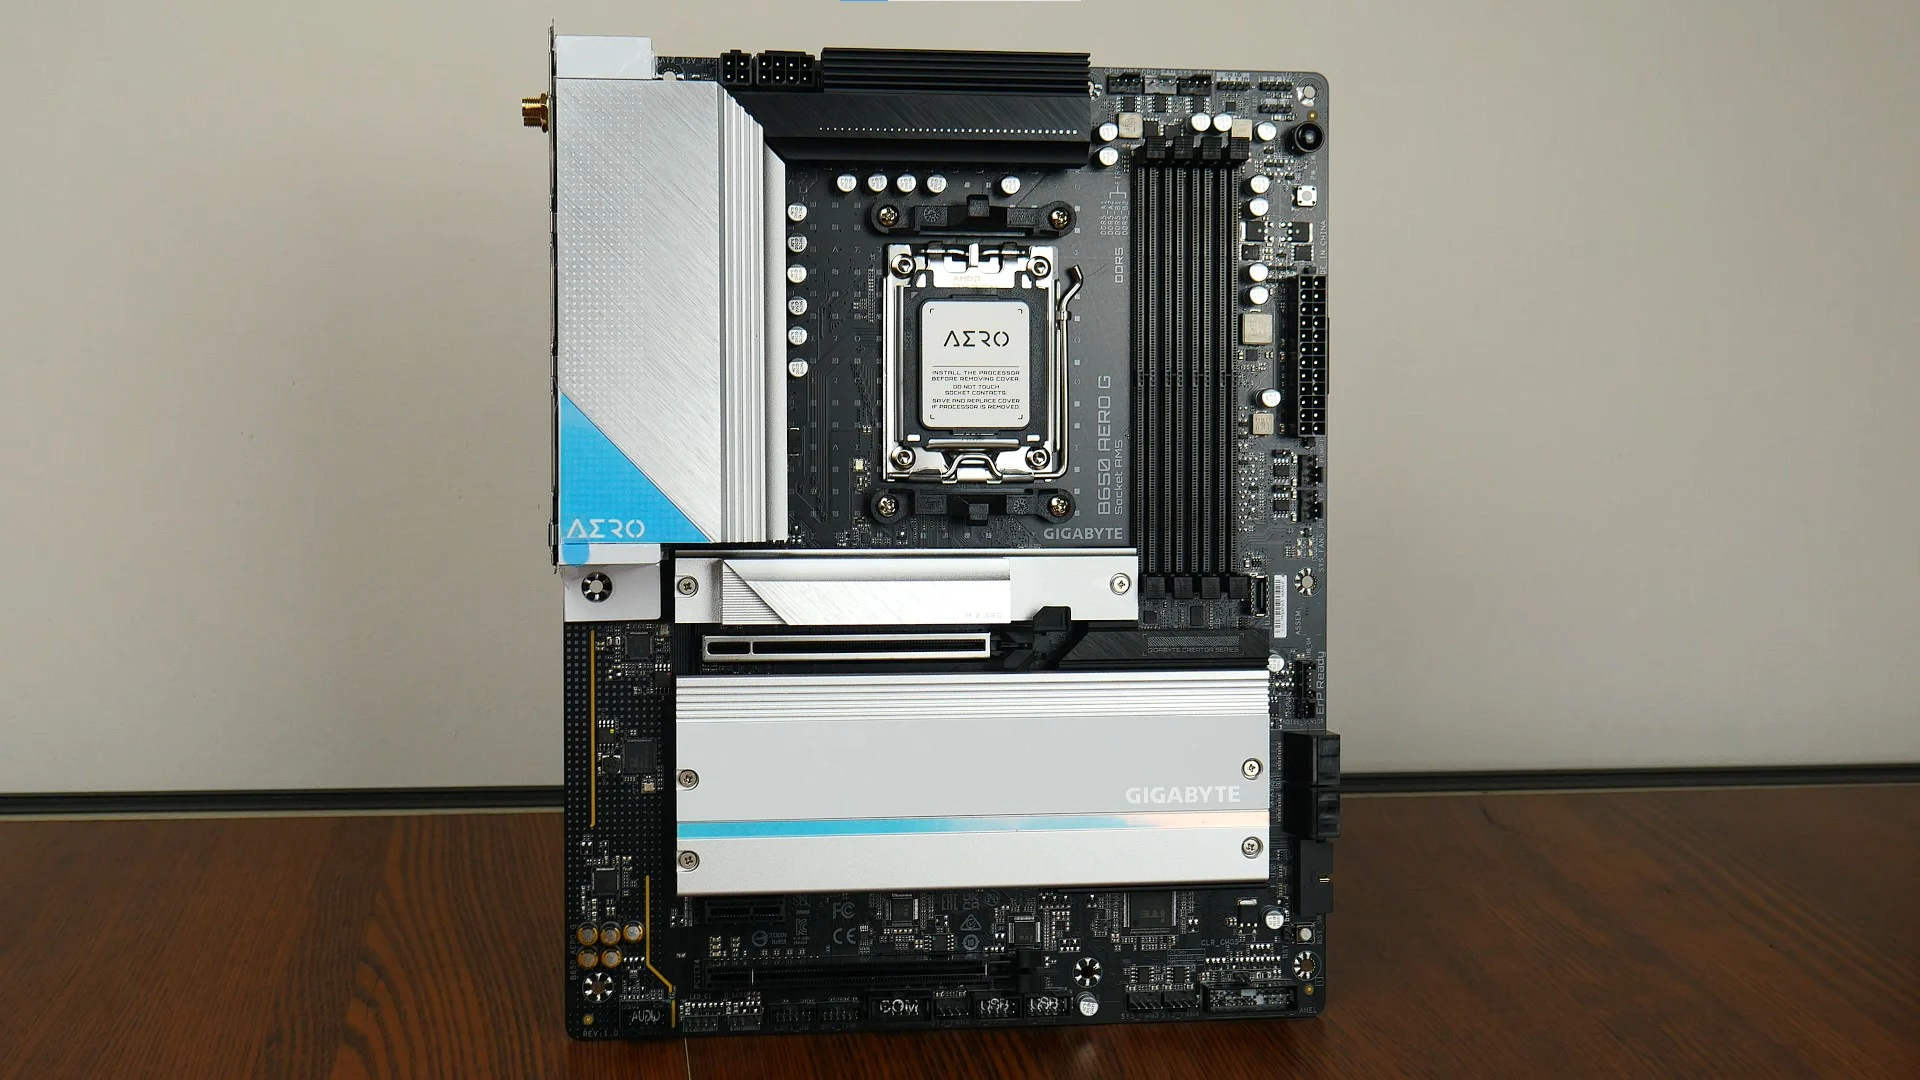
Updating the BIOS (Basic Input/Output System) of a motherboard is a critical task that can enhance compatibility, fix bugs, and sometimes even unlock new features. For Gigabyte motherboard users, navigating the BIOS update process is a straightforward endeavor when equipped with the right guidance. This article aims to provide a clear, step-by-step guide to updating your Gigabyte desktop BIOS smoothly and effectively, discussing the preparation steps, the update process itself, troubleshooting common issues, and the benefits of keeping your desktop BIOS up to date.
Preparing for a Gigabyte BIOS Update
Identifying Your Motherboard Model
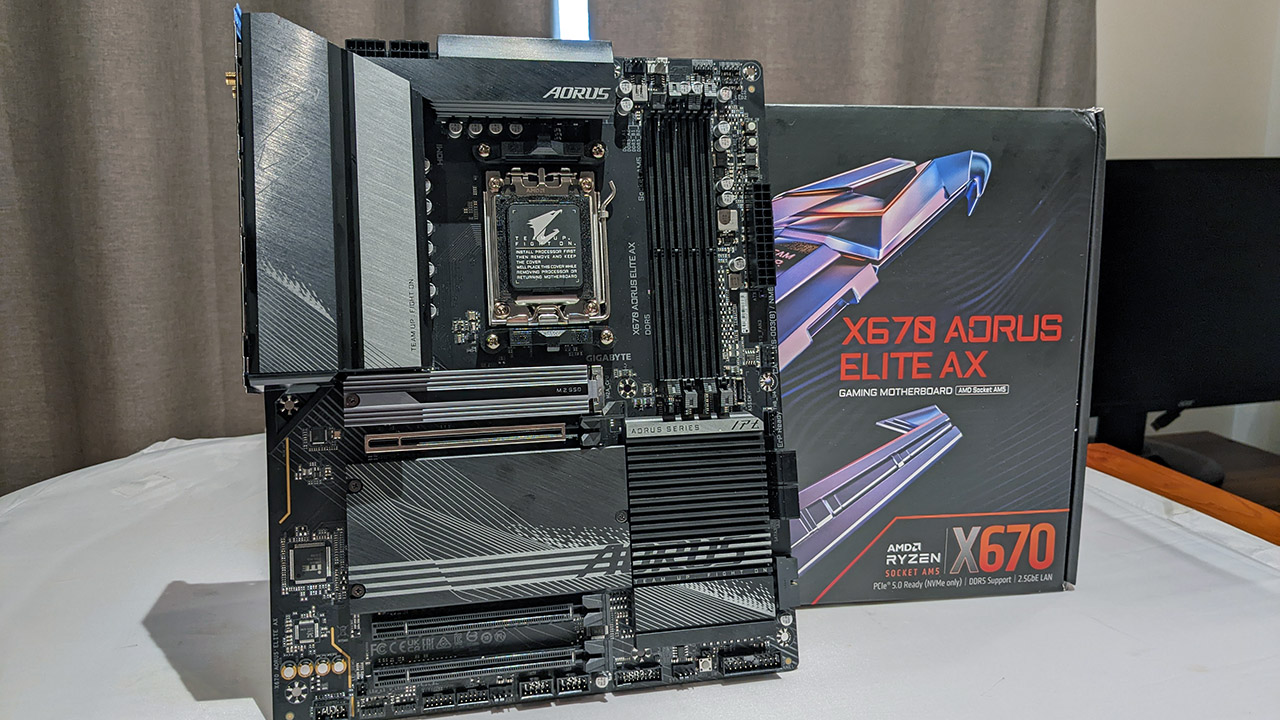
Before you can update your desktop BIOS, you need to know your motherboard’s exact model number. Check your motherboard’s original packaging, the user manual, or use system information tools within your operating system to find the model. Gigabyte desktop also provides a CPU-Z utility on their website that can identify your motherboard model.
Backing Up Important Data
Although BIOS updates are generally safe, there’s always a risk of data loss if something goes wrong. Back up any important data on your system to an external drive or cloud storage as a precaution. It’s also a good idea to note down your current BIOS settings if you’ve made custom configurations that you don’t want to lose.
Executing the BIOS Update Process
Downloading the Correct BIOS Version
Visit the Gigabyte website, navigate to the support page for your motherboard model, and download the latest BIOS version. Ensure that you’re obtaining the BIOS file from Gigabyte’s official website to avoid any issues with incompatible or corrupt files.
Updating the BIOS Using Q-Flash
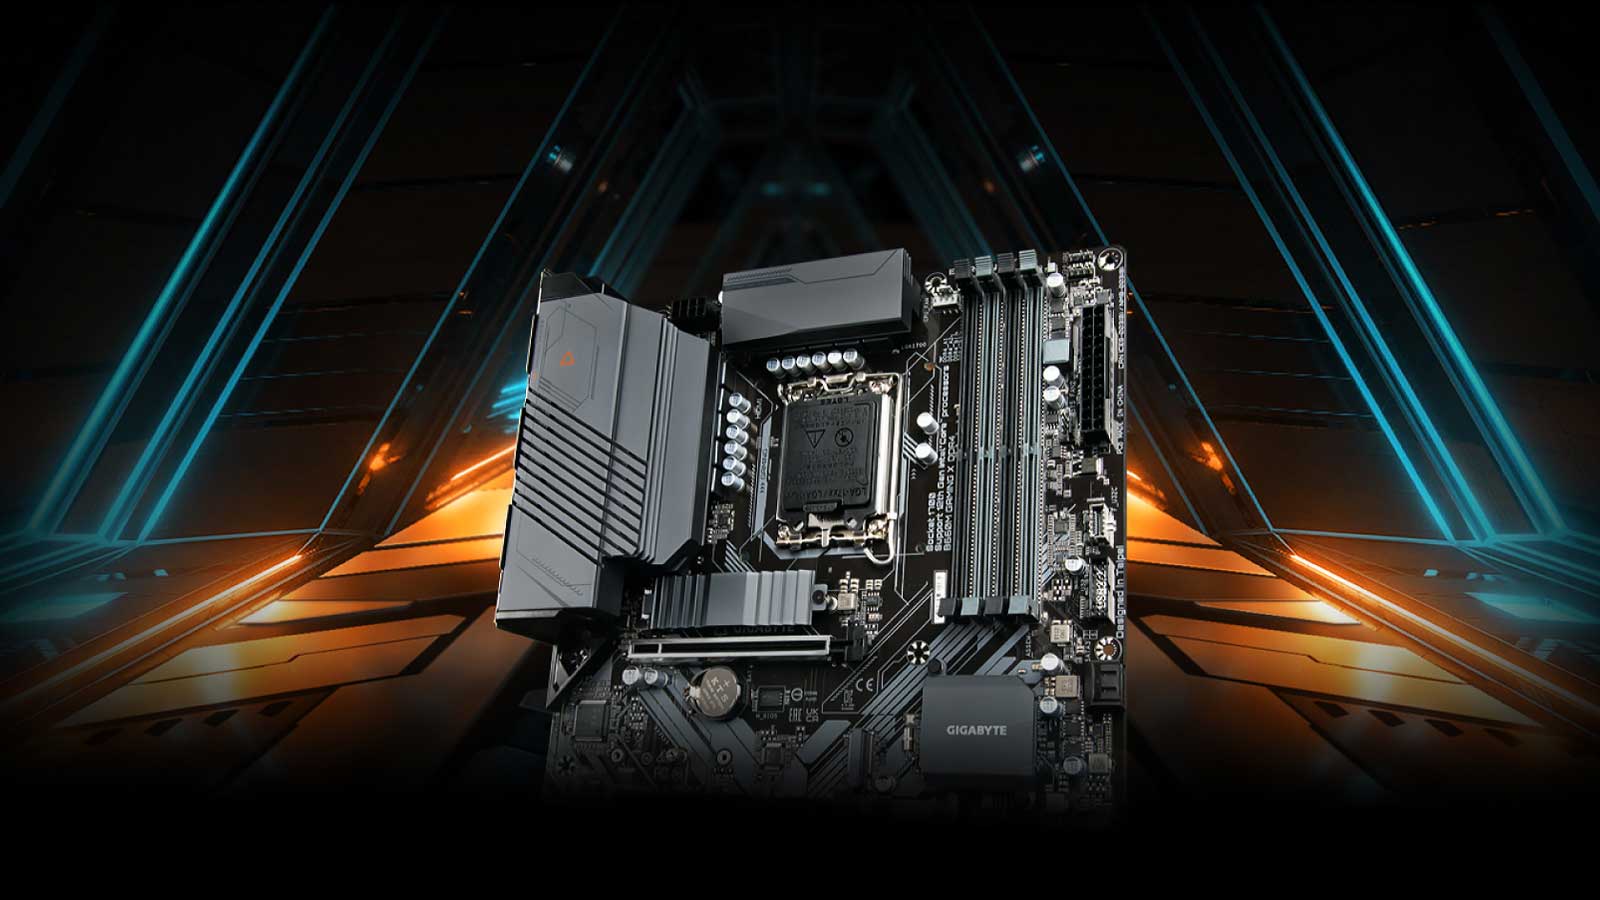
Gigabyte desktop motherboards come with a built-in utility called Q-Flash, which allows for BIOS updates directly from the BIOS interface without entering the operating system. Copy the downloaded BIOS file to a USB flash drive, reboot your computer, and during the startup, press the ‘End’ key to enter Q-Flash. Select the BIOS file from the USB drive, and follow the on-screen instructions to complete the update.
Troubleshooting Common BIOS Update Issues
Recovering from a Failed BIOS Update
In the event of a BIOS update failure, don’t panic. Gigabyte motherboards often come with DualBIOS, a feature that automatically recovers the BIOS from a backup in case of corruption or failure. Refer to your motherboard’s user manual for specific recovery instructions if needed.
Resolving Post-Update Problems
After a successful BIOS update, you may encounter issues like system instability or hardware incompatibility. If this happens, reset the BIOS to its default settings using the ‘Load Optimized Defaults’ option in the BIOS menu. Reconfiguring your settings manually can also address issues that may arise from the update process.
Understanding the Benefits of BIOS Updates
Enhancing System Stability and Compatibility
BIOS updates often include improvements to system stability and hardware compatibility. By keeping your BIOS updated, you ensure that your motherboard works seamlessly with new hardware and that any known issues with existing components are addressed.
Accessing New Features and Improvements
Occasionally, BIOS updates introduce new features or enhancements to your motherboard’s existing capabilities. Updating your BIOS can unlock these additional features and provide you with a more feature-rich computing experience on your Gigabyte motherboard.
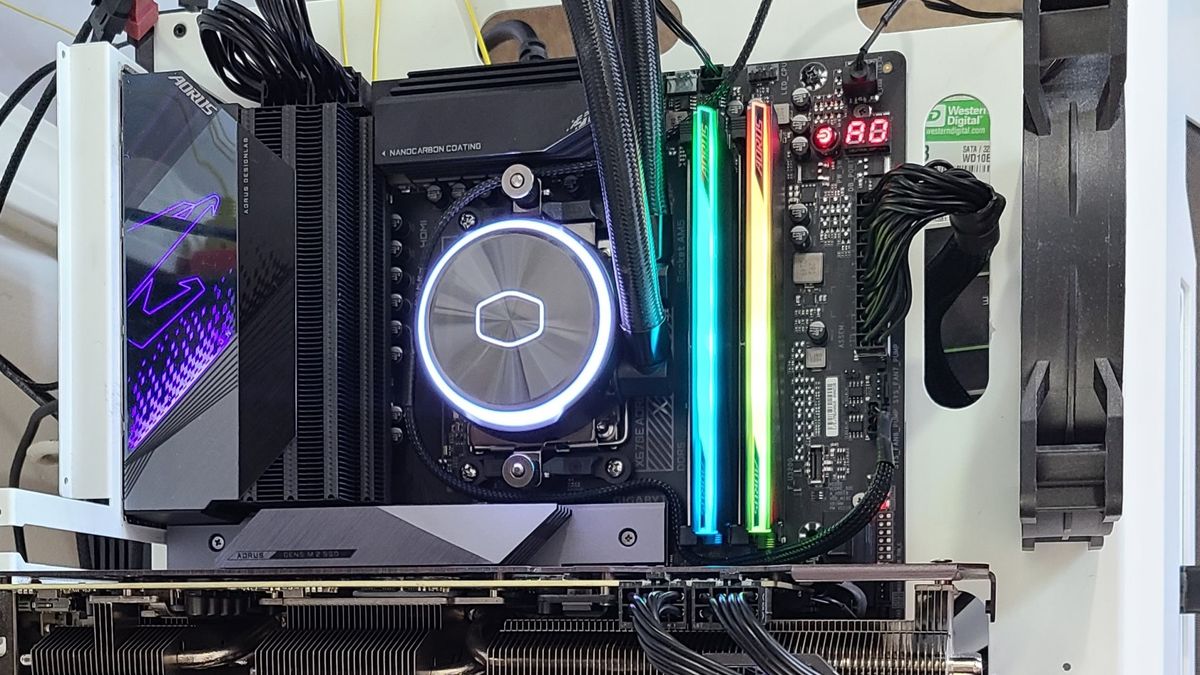
Before You Begin: Essential Pre-Update Checks
Verify the Need for a BIOS Update
It’s crucial to ensure a BIOS update is necessary before proceeding. Check the update’s release notes on the Gigabyte website for bug fixes or feature enhancements that apply to your system. If the update addresses specific issues you’re experiencing or provides support for new hardware you plan to use, it’s a good time to update.
Ensure a Stable Power Source
During a BIOS update, it’s vital that your computer does not lose power, as this can corrupt the BIOS and render the motherboard unusable. If you’re using a desktop, consider using an uninterruptible power supply (UPS) to safeguard against power outages. For laptop users, ensure the battery is fully charged and the power adapter is connected.
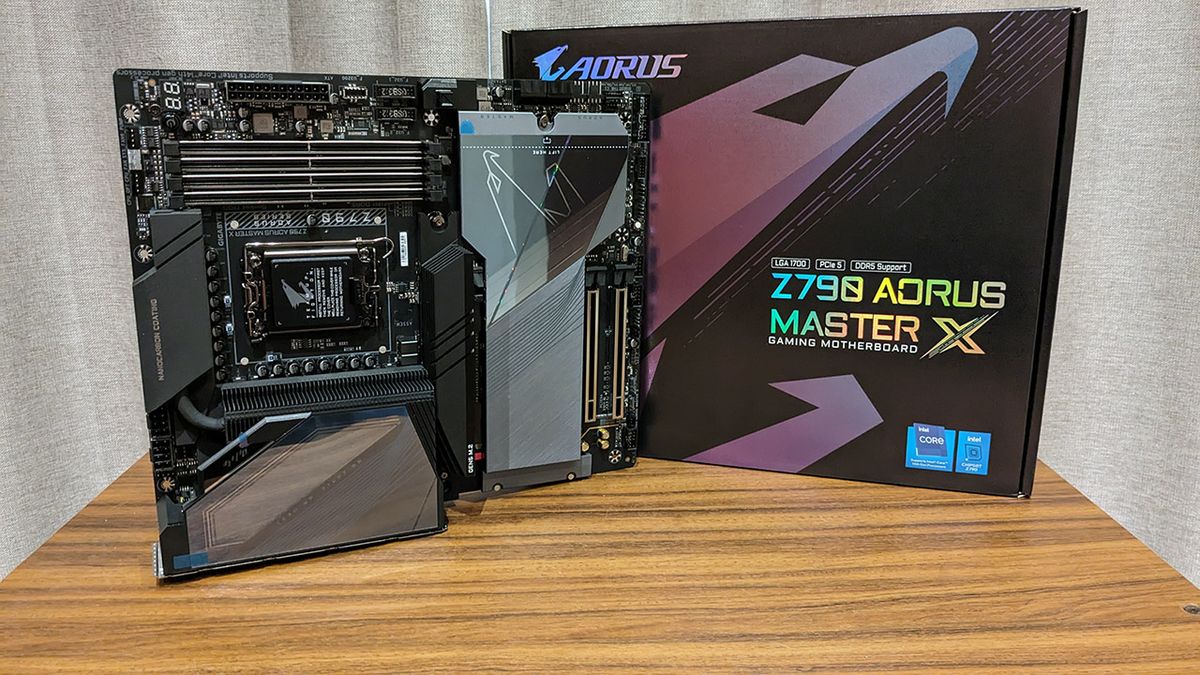
Step-by-Step BIOS Update via Q-Flash
Accessing Q-Flash Utility
With the BIOS file on your USB drive, restart your computer and enter the BIOS menu by pressing the ‘Del’ key during boot-up. Once in the BIOS menu, locate the Q-Flash utility, which is often found under the ‘Save & Exit’ or ‘BIOS’ tab, depending on your motherboard model.
Performing the Update with Q-Flash
Inside Q-Flash, select the option to update the BIOS and choose the USB drive as the source. Navigate to the BIOS file you’ve placed on the drive and confirm the selection. The utility will proceed with the update process, showing progress and any relevant prompts. Do not interrupt this process. Once completed, the system will usually reboot automatically.
Post-Update Actions and Configuration
Checking BIOS Version Post-Update
After the update, re-enter the BIOS to confirm that the new version number is displayed, indicating a successful update. This information is typically found on the main page of the BIOS menu. If the version number has not changed, repeat the update process or consult Gigabyte’s support resources.
Reconfiguring BIOS Settings
If you had custom BIOS settings prior to the update, you would need to reconfigure them, as updates can reset settings to default. Carefully apply your custom settings again, verifying each one to ensure system stability. Pay special attention to boot order, performance settings, and any custom fan curves you’ve set.
Maintaining Your Motherboard for Long-Term Performance
Regularly Check for Updates
Keep your system in top shape by periodically checking for new BIOS updates. Manufacturers like Gigabyte release updates to address vulnerabilities, improve performance, and support new hardware. Set a reminder to visit the Gigabyte website every few months to stay informed about the latest firmware versions available for your motherboard.
Utilize Gigabyte’s Support Resources
Should you need assistance, Gigabyte offers a wealth of support resources. From detailed manuals and FAQs to user forums and customer service, help is available to guide you through any challenges you encounter. Take advantage of these resources to ensure your motherboard and overall system continue to run at peak performance.
In summary, updating the BIOS on your Gigabyte motherboard is an important step in maintaining and improving your system’s performance and compatibility. By following this step-by-step guide—identifying your motherboard model, backing up data, downloading the correct BIOS version, and using the Q-Flash utility—you can execute a BIOS update with confidence. Troubleshooting common issues will help you resolve any complications that may arise, and understanding the benefits of BIOS updates will motivate you to keep your system’s firmware current. Remember that while updating your BIOS can offer significant benefits, it’s a process that should be approached with caution and carried out when necessary, ensuring your Gigabyte rig runs smoothly for years to come.
