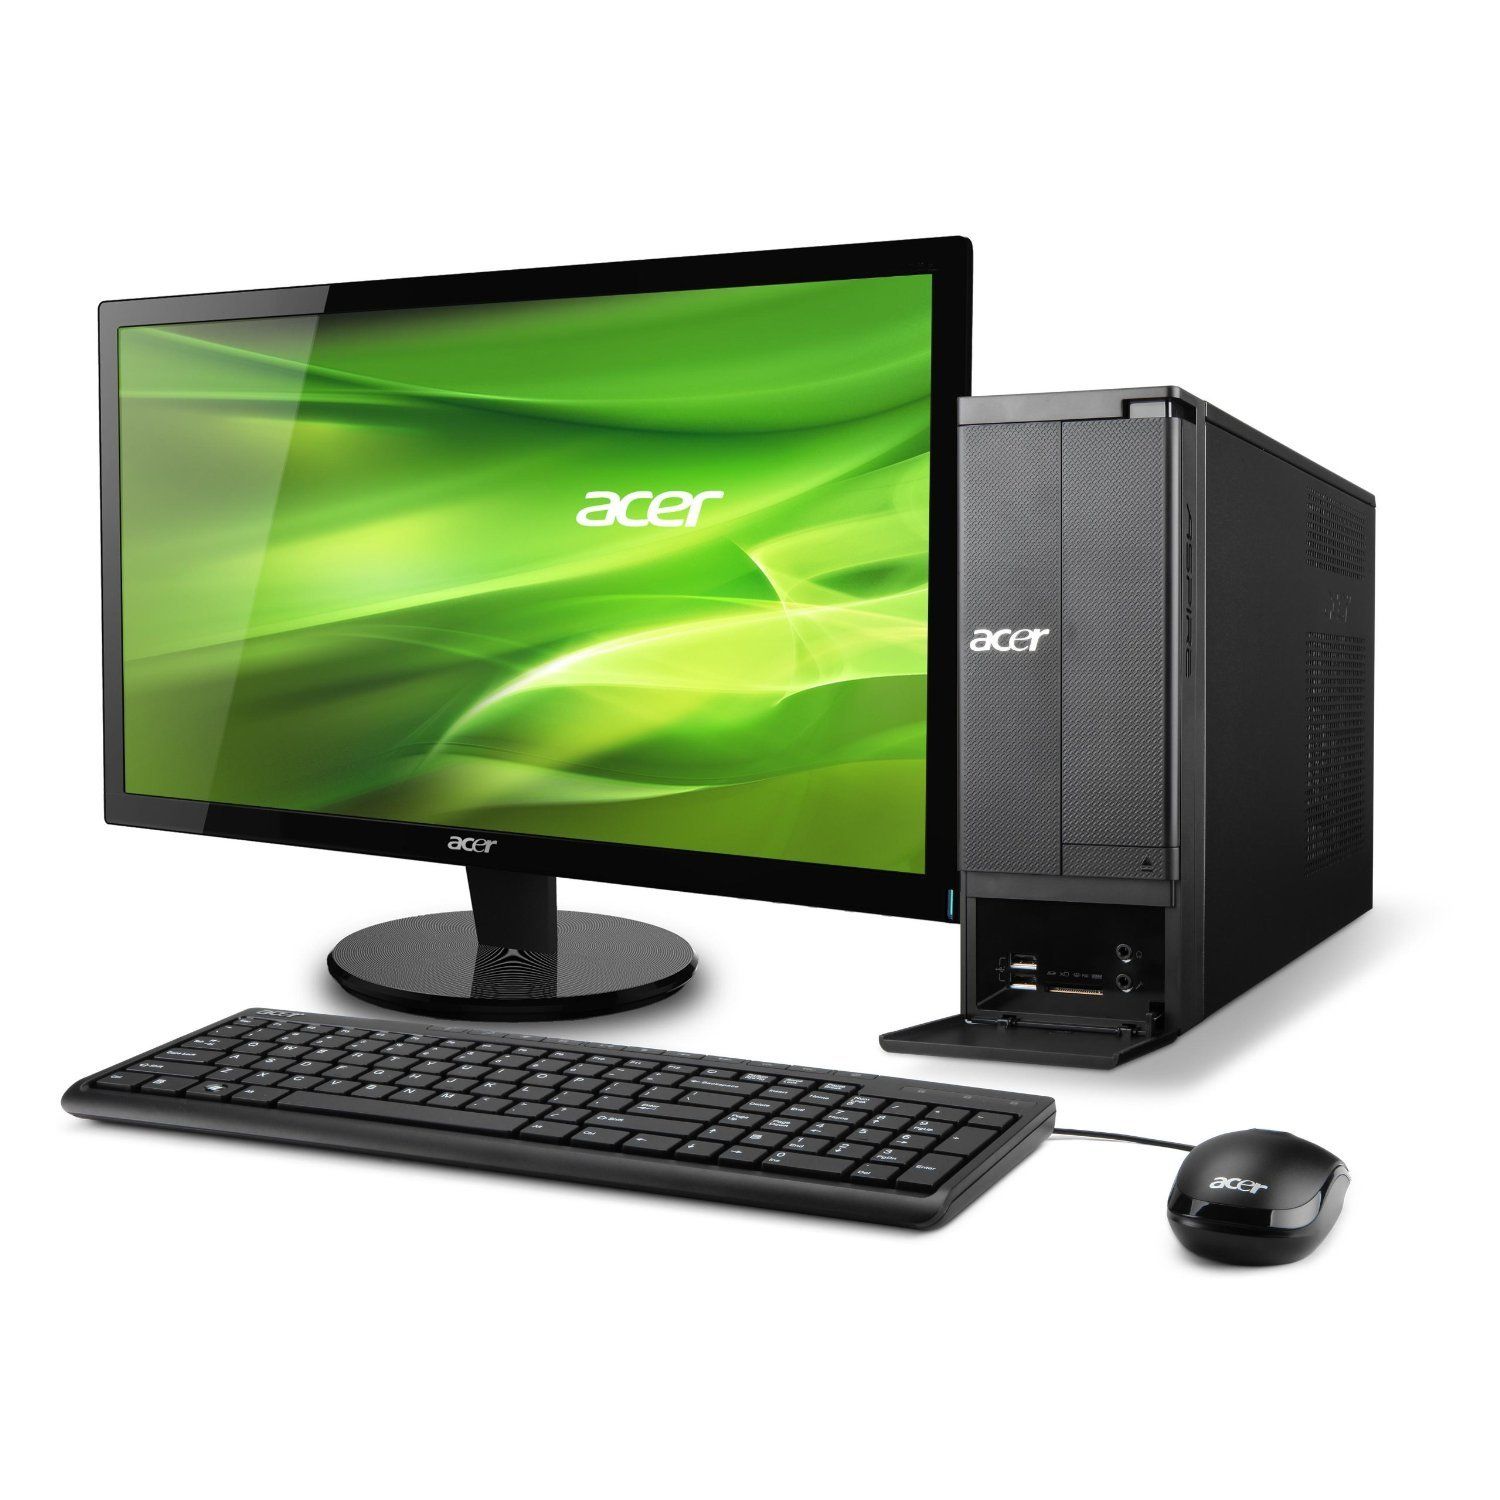
In the digital age, the ability to take a screenshot is an essential skill. Whether for work, education, or personal use, capturing what’s on your screen can help you save or share information quickly and efficiently. Acer desktop users have several options at their disposal for taking screenshots. This article provides a comprehensive guide on how to perform this task using built-in tools in the Windows operating system as well as third-party applications.
Using Keyboard Shortcuts and Built-In Windows Features
One of the quickest ways to take a screenshot on an Acer desktop is to use keyboard shortcuts. Windows offers several built-in options that cater to different screenshot needs.
The PrtScn (Print Screen) Key
The most well-known method for taking screenshots on a Windows-based system is by using the PrtScn key. Pressing this key captures the entire screen and copies the image to your clipboard. From there, you can paste it into a program like Paint or Word, then save or edit the image as needed.
Snipping Tool: A Versatile Built-In App
For more control over your screenshots, Windows provides the Snipping Tool. With this application, you can choose from different types of snips, including free-form, rectangular, window, and full-screen. This tool also offers a delay feature, which can be useful when trying to capture tooltips or other items that appear only briefly.

Advanced Screenshot Features in Windows 10 and 11
With the introduction of Windows 10 and the subsequent release of Windows 11, Microsoft has enhanced the screenshot capabilities of its operating system.
Snip & Sketch: The Modern Snipping Tool
In Windows 10, the Snip & Sketch tool replaced the classic Snipping Tool, providing a more modern and feature-rich experience. You can open Snip & Sketch quickly by pressing Windows Key + Shift + S. This tool allows you to take a quick snip, annotate it, and share it—all from the same window.
Power + Volume Up and Xbox Game Bar
Windows 10 and 11 also offer alternative methods for screen capturing. If you’re using an Acer desktop with a Windows logo button and volume control, you can take a screenshot of your entire screen by pressing the Windows logo button and the Volume Up button simultaneously. Additionally, the Xbox Game Bar (opened with Windows Key + G) includes a screenshot feature designed for capturing gameplay, but it can be used for general screen capturing as well.
Third-Party Applications for Enhanced Functionality
While Windows has robust built-in capabilities for screenshots, some users may seek additional functionality. Numerous third-party applications are available that offer more customization and powerful editing options.
Lightshot: A Simple and Intuitive Tool
Lightshot is a popular free application that allows you to take customizable screenshots. It’s lightweight, easy to use, and comes with a built-in editor for quick annotations. Once installed, it can be activated with a single hotkey, making it a convenient option for frequent users.
Greenshot: Feature-Rich and User-Friendly
Another highly recommended tool is Greenshot. It’s an open-source program that provides comprehensive screenshot capabilities, including capturing specific regions, windows, or web pages. Greenshot also offers an image editor for making detailed modifications to your screenshots before saving or sharing them.
Tips for Managing and Sharing Your Screenshots
Once you’ve taken a screenshot, knowing how to manage and share it effectively can maximize its utility. Here are additional tips for working with your screenshots on an Acer desktop.
Organizing Your Screenshots
Creating a dedicated folder for your screenshots can help you keep track of them easily. You can also use file naming conventions to make it simpler to search for specific images later on.
Sharing Options
Windows makes it simple to share screenshots directly from the Snip & Sketch tool or by locating the saved image file and using built-in options to share via email, social media, or cloud services. Third-party applications often have quick share features that allow you to upload your images to online platforms or get shareable links instantly.
In summary, whether you’re a professional, student, or casual user, understanding how to take a screenshot on an Acer desktop is a valuable skill that can aid in communication and information retention. With this guide, you’ll be able to choose the most suitable method for your needs, manage your captures effectively, and streamline the way you work with screenshots on your Acer desktop.
